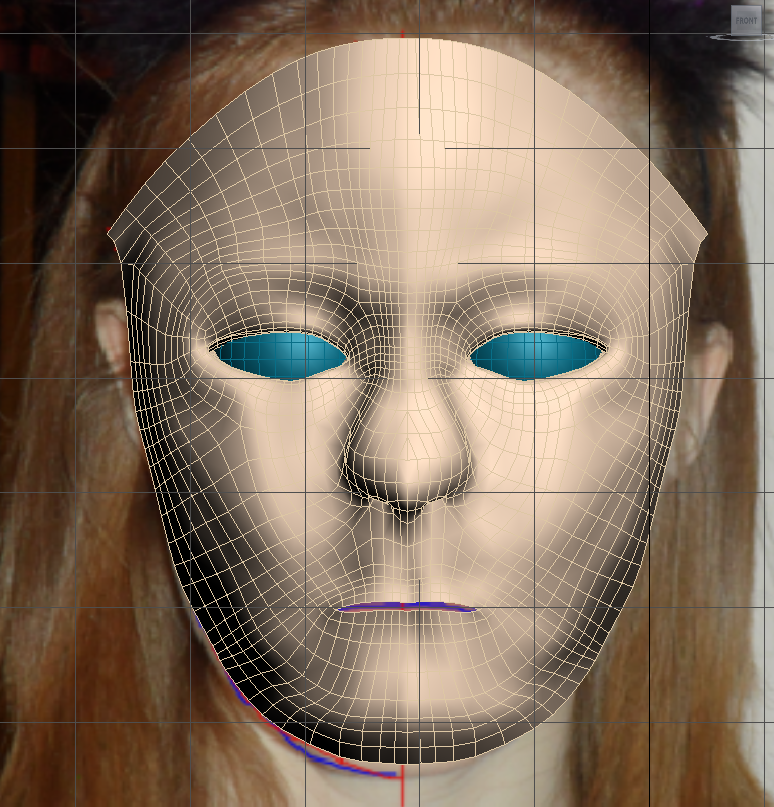
Because I had to start again from the beginning, I retook my reference images and inserted them back into Photoshop. Using the other reference plates as a guide, I added the red and blue topology lines back in and lined the images up correctly, as you can see below:

Once the image planes were added back into 3D Studio Max, I followed the tutorials back to where I left off before I handed in my work at the halfway point. On this occasion, I was very careful to ensure that there were no 3 or 5 sided shapes in the topology to give a more even surface with less pinching. The image below shows the new topology:
Overall, I felt that this attempt was much more successful than my last one because it was much easier to create the nose and add more definition to the lips, eyes and nostrils. The images below show my eyes defined with the TurboSmooth modifier on because the eyes were not defined on the original hand in model:
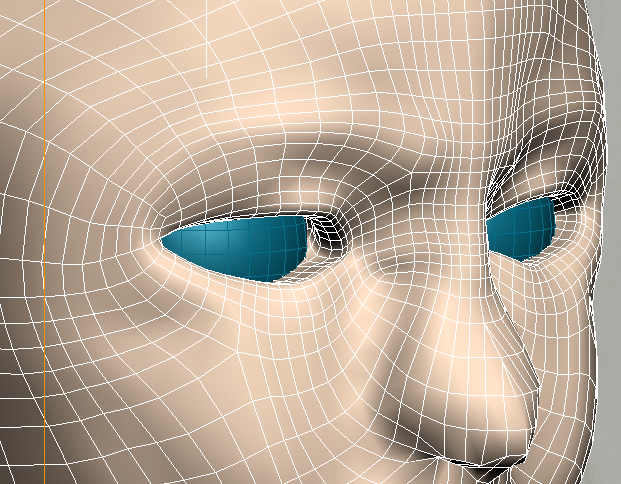
The nose and the lips however were defined in exactly the same way and can be viewed on the model enclosed on the CD accompaniment.
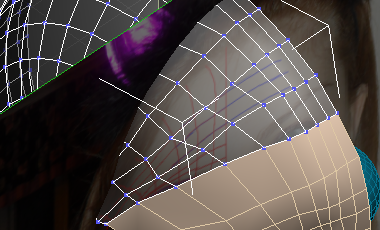
Due to so many issues because carried over via the topology, I found it extremely difficult to construct the back of my head and attach it to the front of my face. However, I found it much easier to line up the faces on this attempt and therefore produced a much more successful result. The images below show how the back of the head was constructed correctly. The first step was to create the sphere which would form the skull and rotate and scale it to fit the head. It did not matter if there were overlapping faces because these were then deleted in the next step. It was important to match up the number of segments on the sphere to the number of faces on the forehead so that it allows an easy weld between the two.

Unwanted vertices were highlighted using the paint spray tool to make it easier to select multiple faces in one go:

The image below shows all of the wanted faces:

The next step was to highlight the vertices that are going to connect the top of the head with the top of the forehead and target weld them together.
Next I had to extend the polygons down from the head to form the neck and the chin. A small space had to be left in order to construct and position the ear. I was very pleased with how this turned out because the mesh was much smoother than the first attempt as all the vertices were target welded whereas there were odd polygons which had not been joint together, therefore creating a very uneven and unnatural looking topology.

No comments:
Post a Comment